I changed phones this summer. I got a Samsung Galaxy S23 Ultra and my trusty OnePlus 8 Pro went to my father. He was using my old OnePlus Nord, but after two years it was getting to the point where wear and tear was apparent. He drives for Uber, the display is ON for hours almost every day, the phone is always charging… you get the idea (this is the screen burn-in, even system icons are there [WTH OnePlus?]).
With the phone he also received some of the accessories I had. I do most of my work on a desk, so I don’t need a lot of protection on a phone. My cases (mostly for grip) were thin and the screen protector – when used – was one of those soft plastic ones which are good enough for scratches, but don’t do much against big hits. It’s also hard to find a good rigid screen protector for a curved display that doesn’t lift, doesn’t affect gestures, and covers the whole display, so I always avoided them. He needs more protection than me though, so after looking around we managed to find a kit with a screen protector + glue + UV light and ordered it.
Unfortunately the hard plastic screen protector and ticker case I ordered from AliExpress took longer than expected to arrive and on a cold, rainy day his phone fell from his coat pocket while leaving the car:
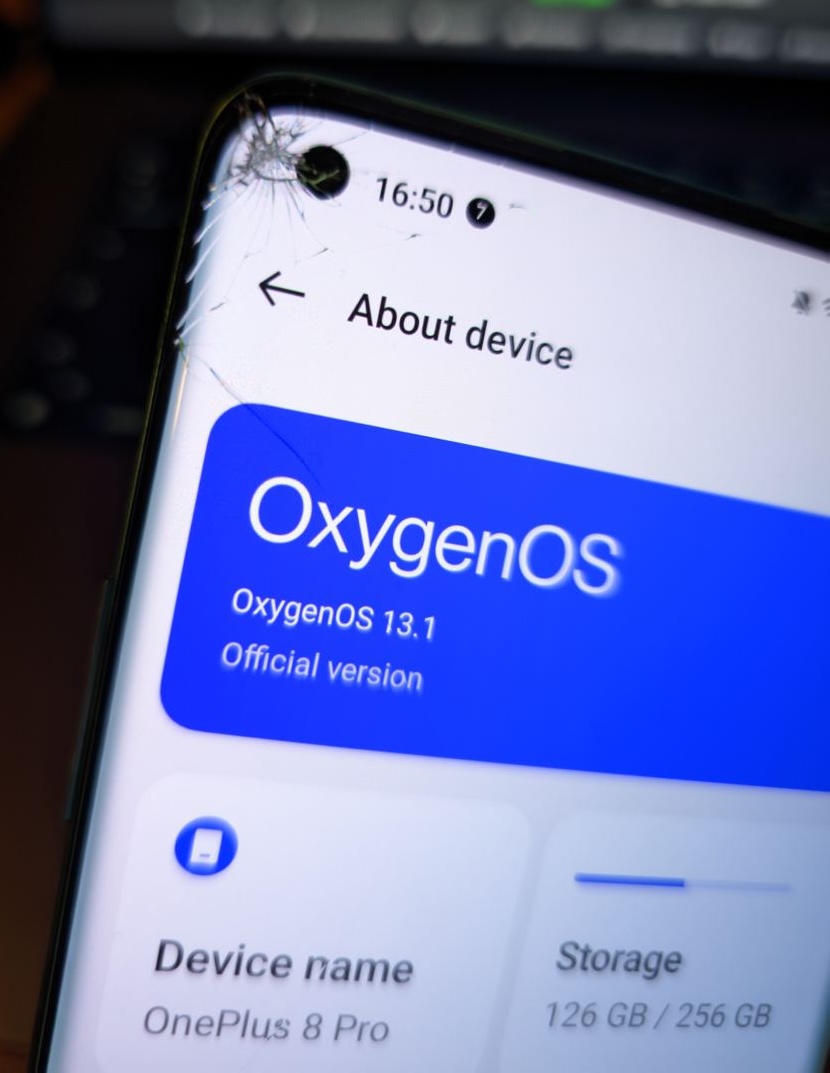
The hit shattered the top left corner of the display. While the display and touch was still working, there was a few cracks right on top of the camera and one long circular one that goes from the top left to the middle left part of the display (not very visible on the picture above).
No problem, I though, we can replace the display. For many devices (including the old Nord and the base OP8) a new display costs less than 50 EUR/GBP/USD. Unfortunately displays for the 8 Pro are expensive. The cheapest one I could find would cost us around 180 EUR/GBP/USD, plus the cost of the adhesive and a few weeks of waiting for everything to arrive. In total we’d spend around 200 GBP to attempt a fix that might not go well. We could also find second hand 8 Pros for only 80 GBP more… We decided not to buy a display.
Three days later, the rigid screen protector arrived. Annoying, but since I had it and never had used one like it, I decided to give it a try. Maybe the glue could hide some of the cracks? And it did!
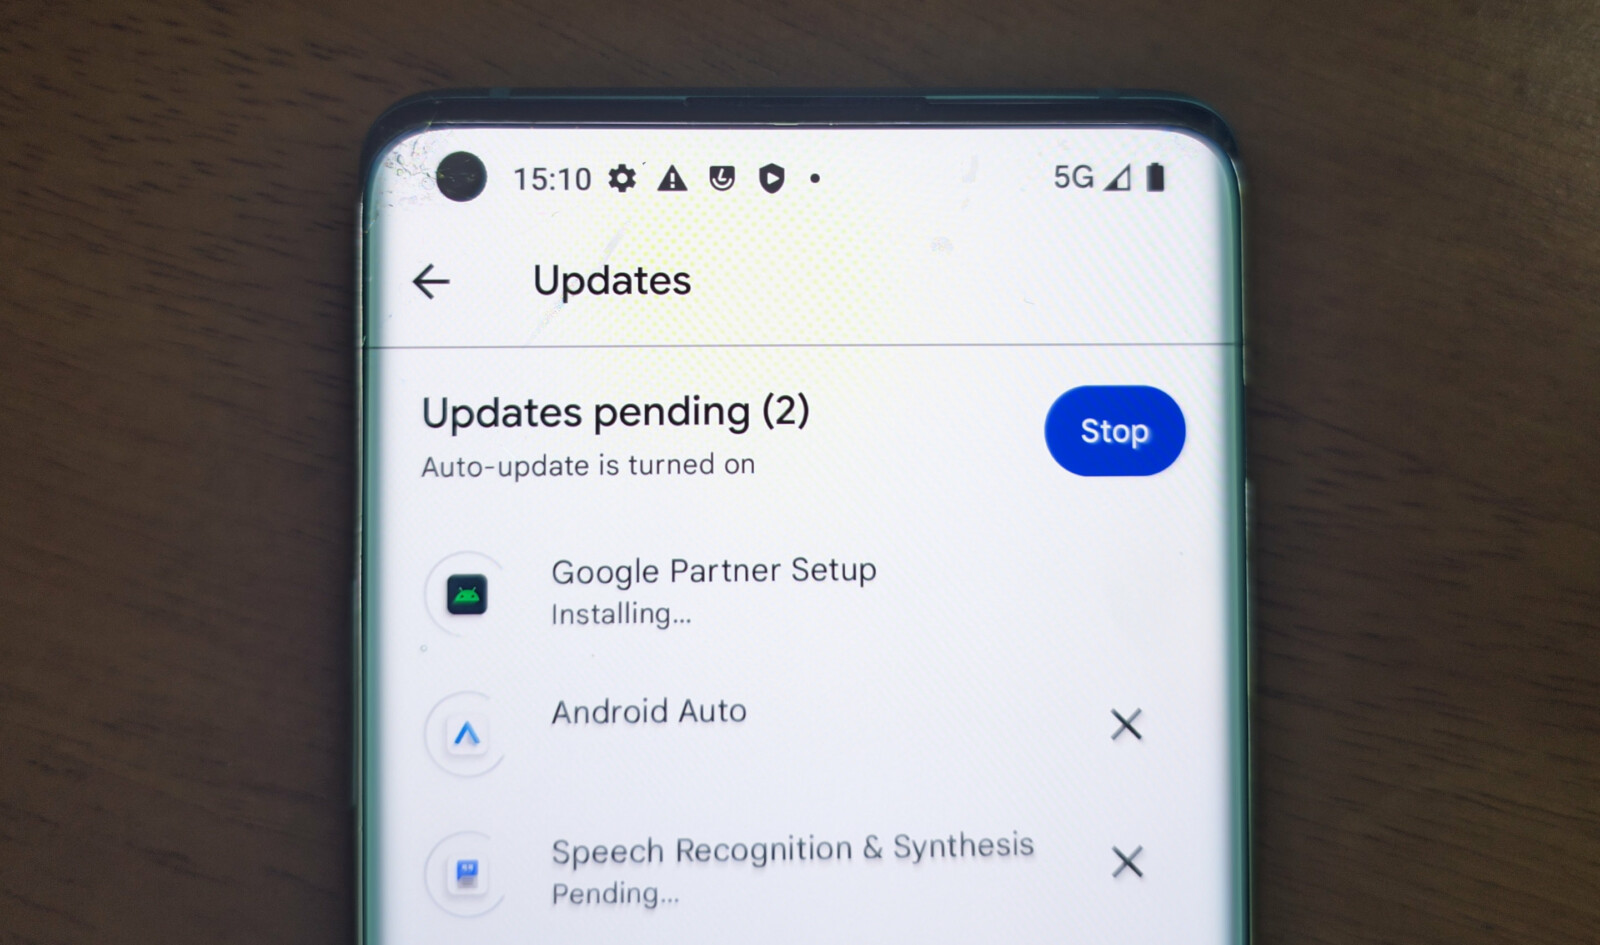
It’s not perfect. While I was curing the glue with the UV light, I took a quick picture which where the cracks are visible:
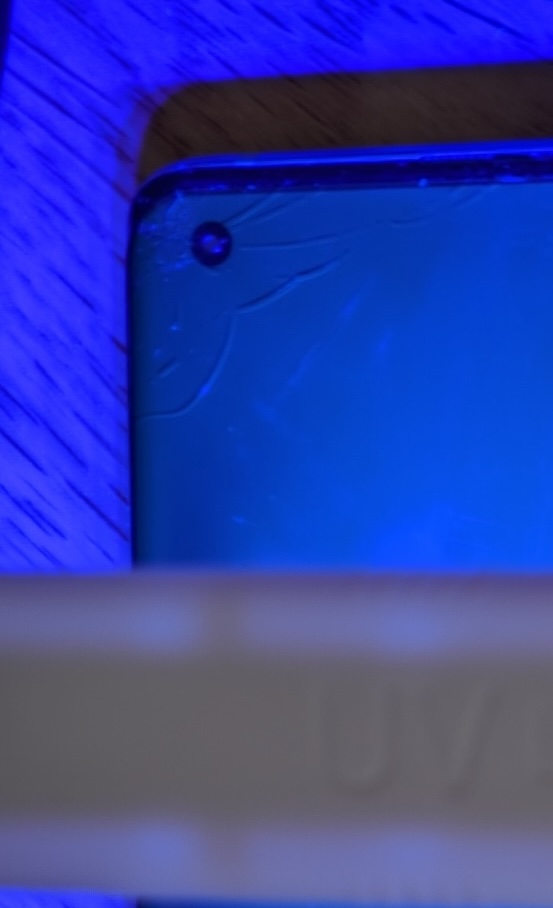
They’re also visible from the side:
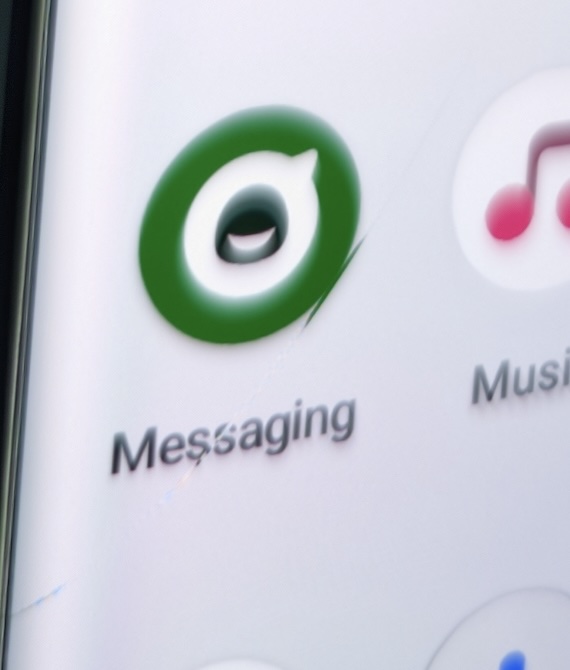
The front camera still looks bad, a bit foggy and lacking a lot of detail, a bit like the camera of a very cheap phone. It looked worse before applying this glue + plastic protection, so it’s still an improvement.
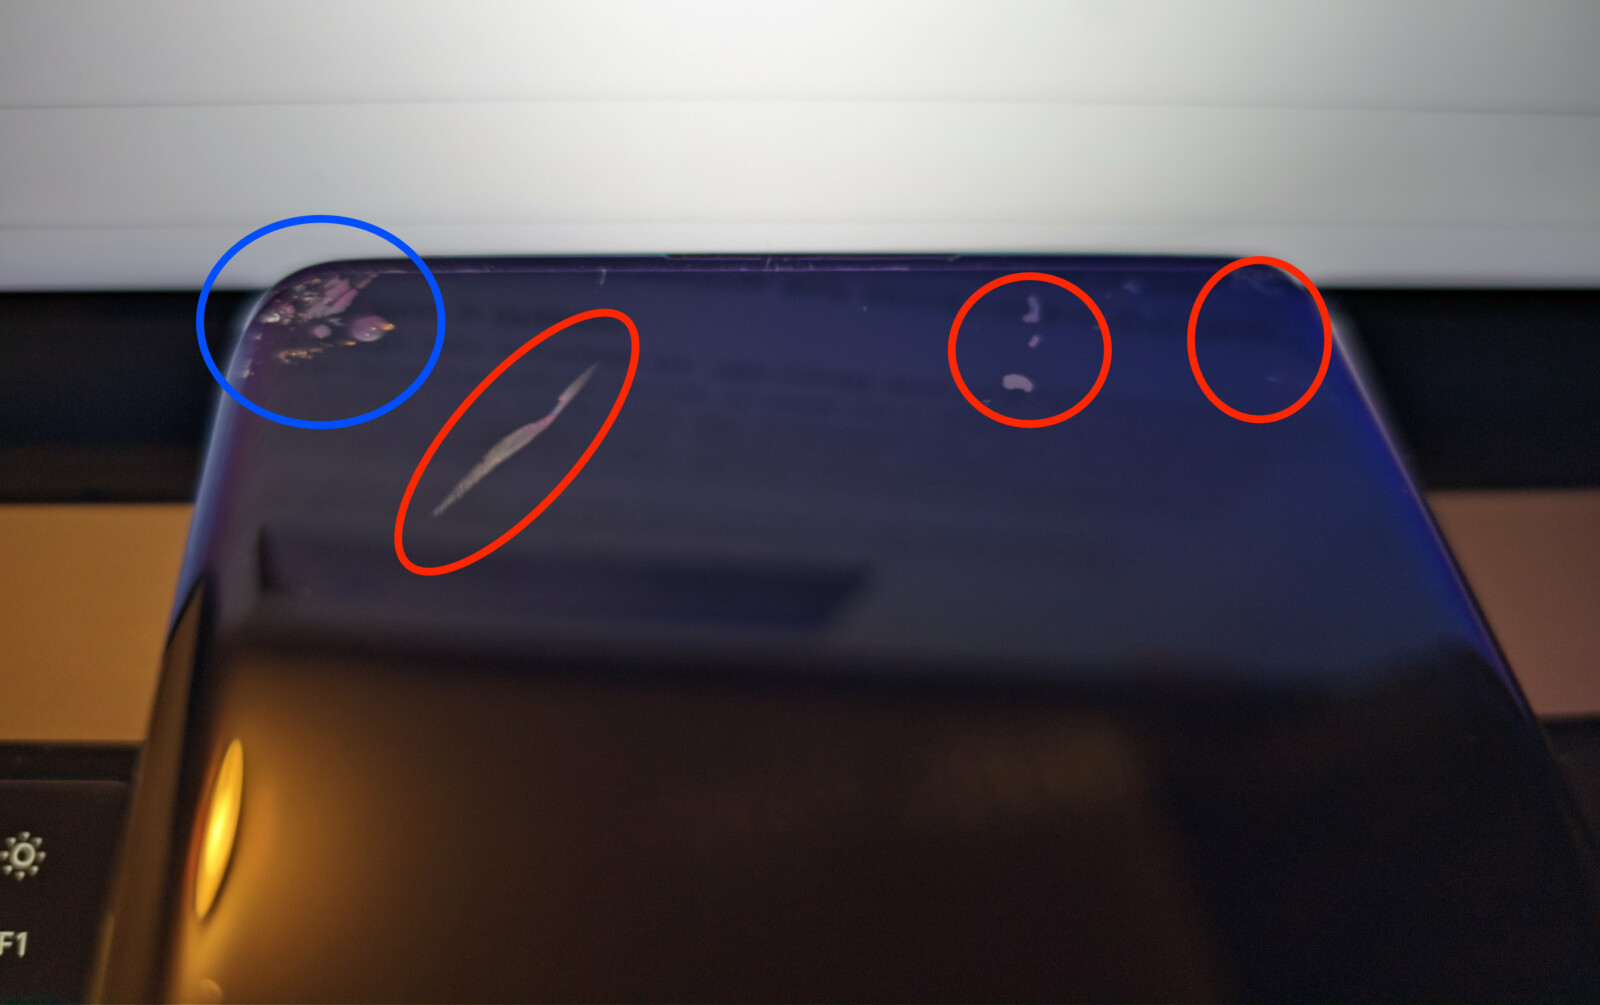
I messed it up a bit, so most of what’s visible it’s my own fault. I started at the bottom and moved up, slowly moving any air bubble and with the UV light behind hardening the glue. The top part was tricky. Not only air was getting in where it was cracked, but the middle part also got hard before I was able to remove a “line” of air. The blue circle is where it was hard to hide due to the damage, while the red circles are pockets of air:
I didn’t have another set of glue + screen protector to do it again, so for now this is the best it will look. In any case, while the cracks are still there and I didn’t do a very good job, it’s hard to see most of them:
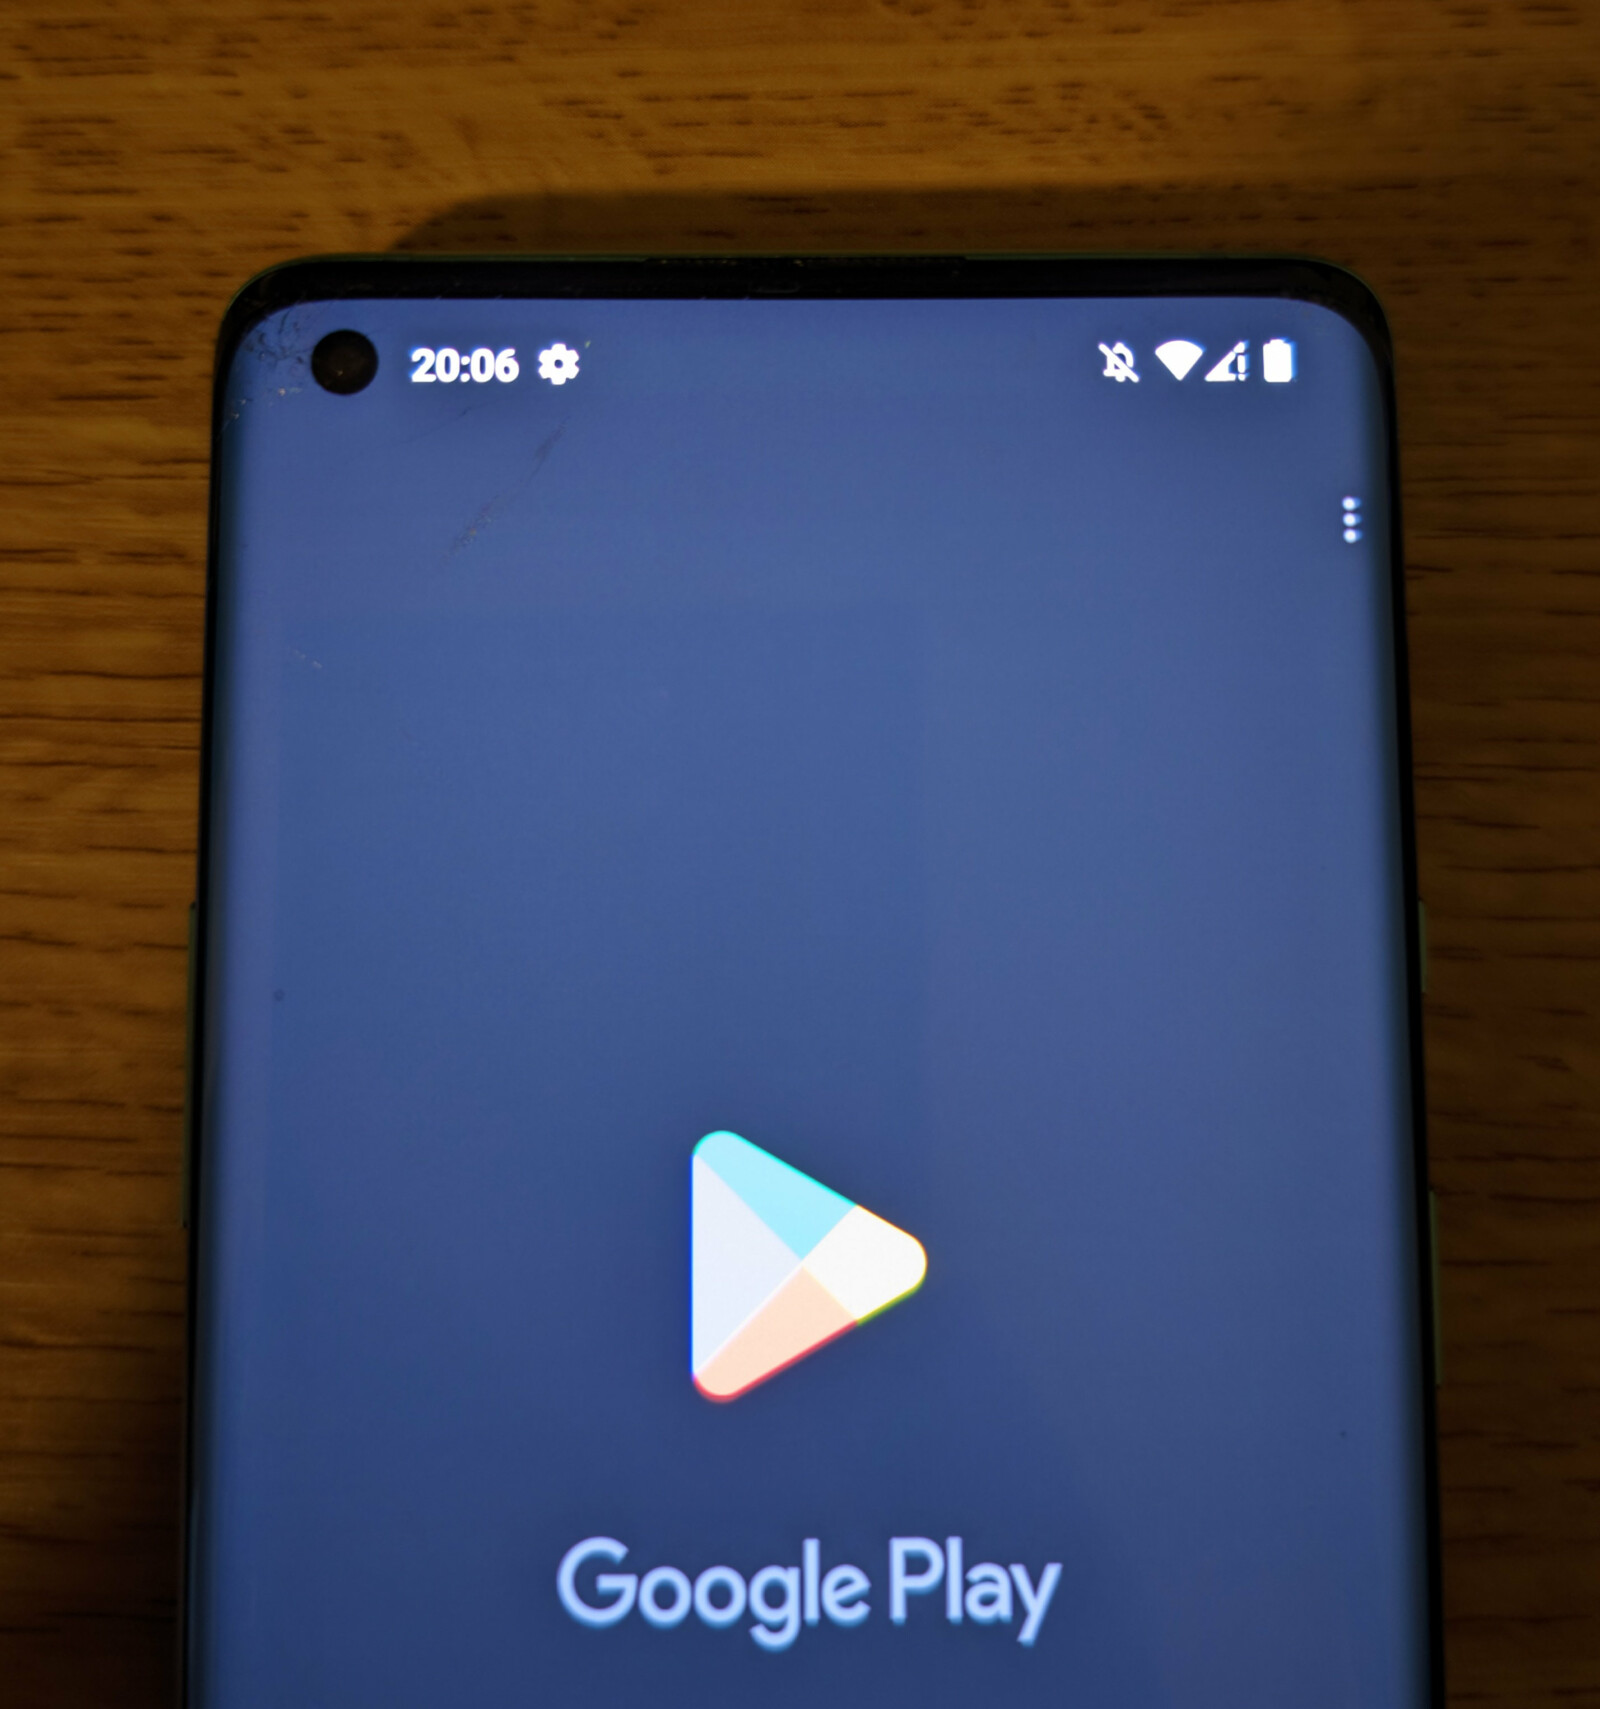
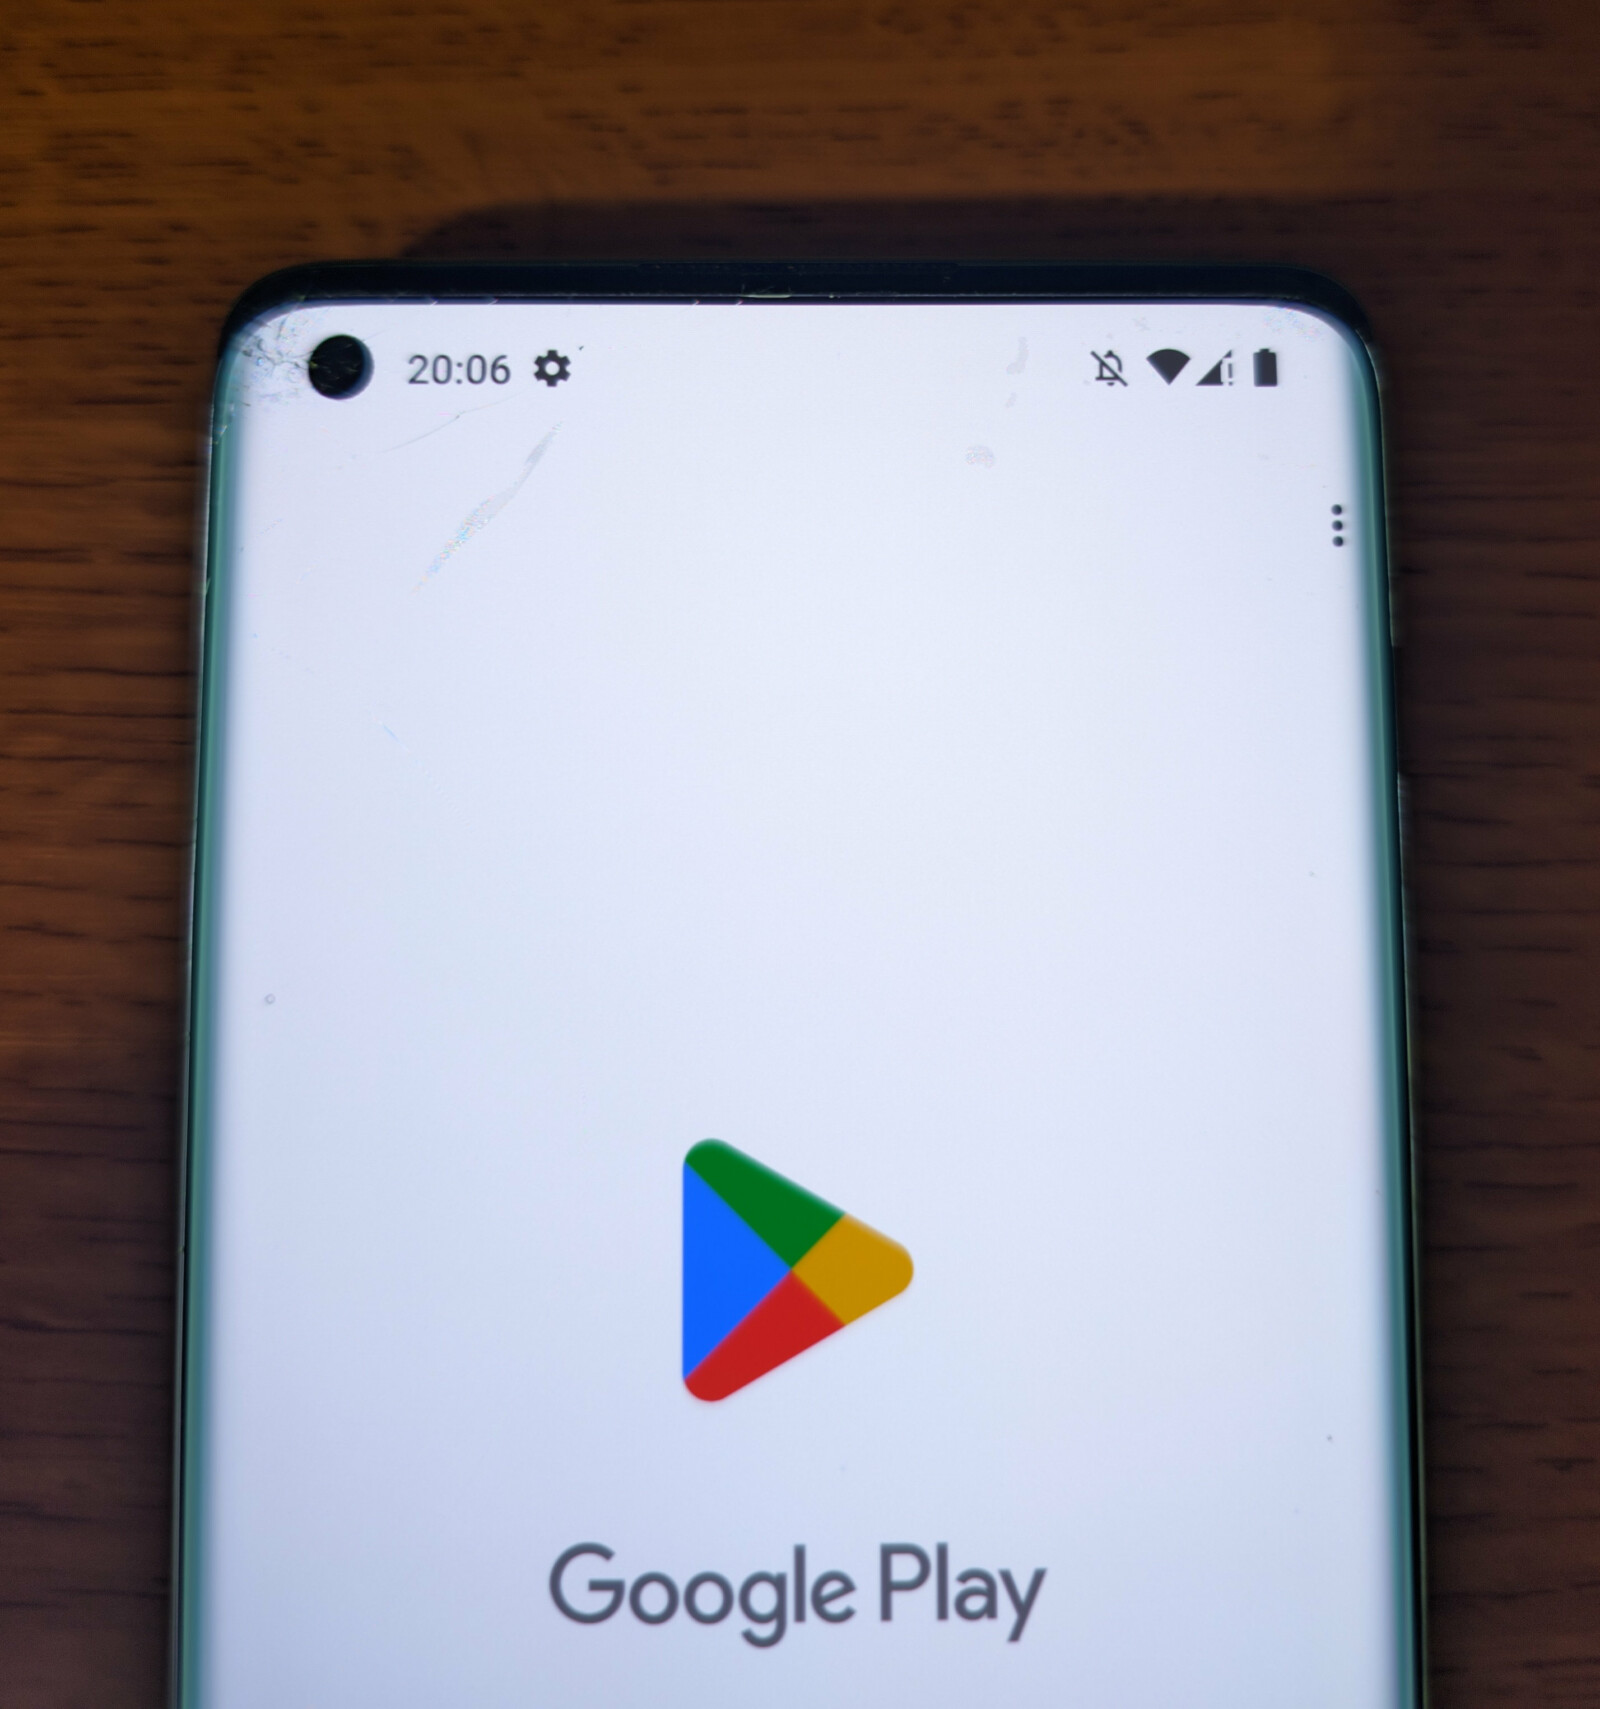
The parts that bother me the most are the ones where I messed up.
I paid around 5 GBP for the kit (on AliExpress, for those interested), so I might re-do it later.
If you try to do this yourself, some tips:
- Make sure you cover the speakers and buttons with tape to avoid clogging or make any button stiff. You should probably wipe the excess glue as soon as possible and before getting the UV light near it.
- If you already have cracks, it might be useful to add more glue to that area so there’s no lack of it.
- Don’t do it directly on top of a table or something like that as the glue will make a mess. I used kitchen paper and it still got through to the table.
- The corners might be tricky. I just pressed the UV light on top of each difficult area until the glue wasn’t liquid anymore. Maybe there’s a better way, but this is how I did it.
- Don’t mess around after starting using the UV light as the glue will get hard quickly.
And that’s it. A cheap “fix” that improves some screen damage without having to replace the display.
Update after 3 months:
I ordered another kit right after posting this, re-did it, and managed to avoid air bubbles.
Since the cracks allow air to get underneath the protector, I find it to be better if I start at the top or bottom with the light very close to the display and then move slowly while pushing any bubbles far ahead of the light so the glue doesn’t start to harden around the air.
Unfortunately this might not be a long term “fix”. In my case it was fine until I went on holidays recently and used the phone as hotspot for almost two weeks non stop. I don’t know if it was the heat or something else, but it started to lift in middle of the display, on both sides (one is cracked, the other isn’t). The glue was still attached to the display, but not to the screen protector.
It might be a good idea to apply some glue around the screen protector especially where the screen is cracked as that’s where the protector is more likely to lift.